
Configuring Additional Grippers
The VIM-303 camera must be configured to properly operate the gripper. Figures 21 through 23 show the additional gripper types and the settings that must be set for each gripper type.
Note: the robot’s TCP (Tool Center Position) offset is being set by the VIM-303 camera when it is controlling the robot. The value of the TCP on the robot’s pendant needs to be set to the same value for consistent behavior when running with PolyScope with a UR Cap.
This software release requires these three settings to be changed when the gripper is changed (GRIPPER, TCP_OFFSET, TCP_CAMERA_OFFSET). It is suggested that the Programmer creates different Workspaces for each gripper type, so that these values can be common to all Tasks using the same gripper type. See the QuickPick manual to learn how to set workspaces.
The TCP_CAMERA_OFFSET is referenced from the robot’s TCP to the front surface of the camera case along the axis of the right camera in the TCP coordinate system.
For the Robotiq grippers, see the steps at the bottom of this page for additional configuration steps.
Figures 21-23 shows the camera configuration required to use the Visual Robotics Quad Suction Gripper.
Refer back to Configuring the VR Single Suction Gripper to see how to set these settings using the Advanced tab in the UR Cap.
Visual Robotics Quad Gripper

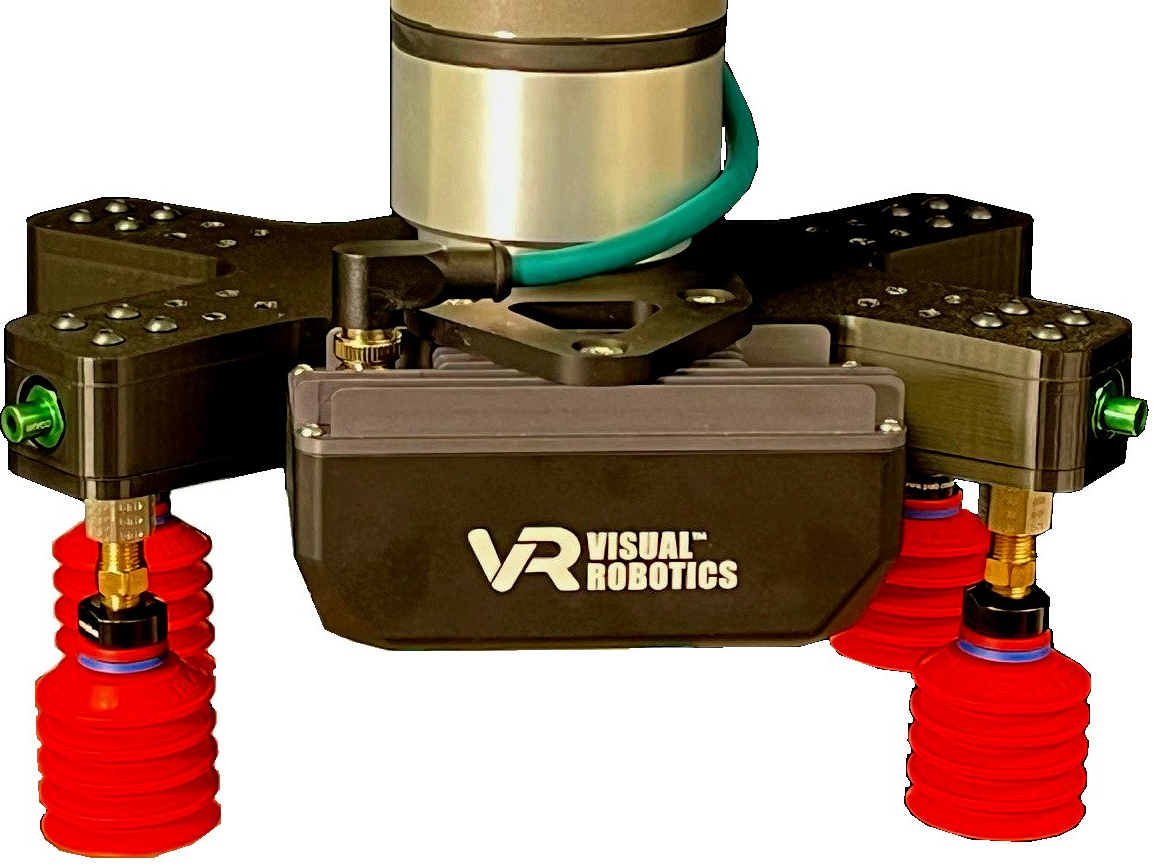
Figure 21: Settings for Visual Robotics Quad Suction Gripper
Settings result in a 20mm compression of the suction cups
Robotiq E-Pick Single Suction Gripper

Figure 22: Settings for Robotiq E-Pick Suction Gripper
Settings result in a 5mm suction cup compression
Robotiq 2F-85 and 2F-140 Two Finger Grippers

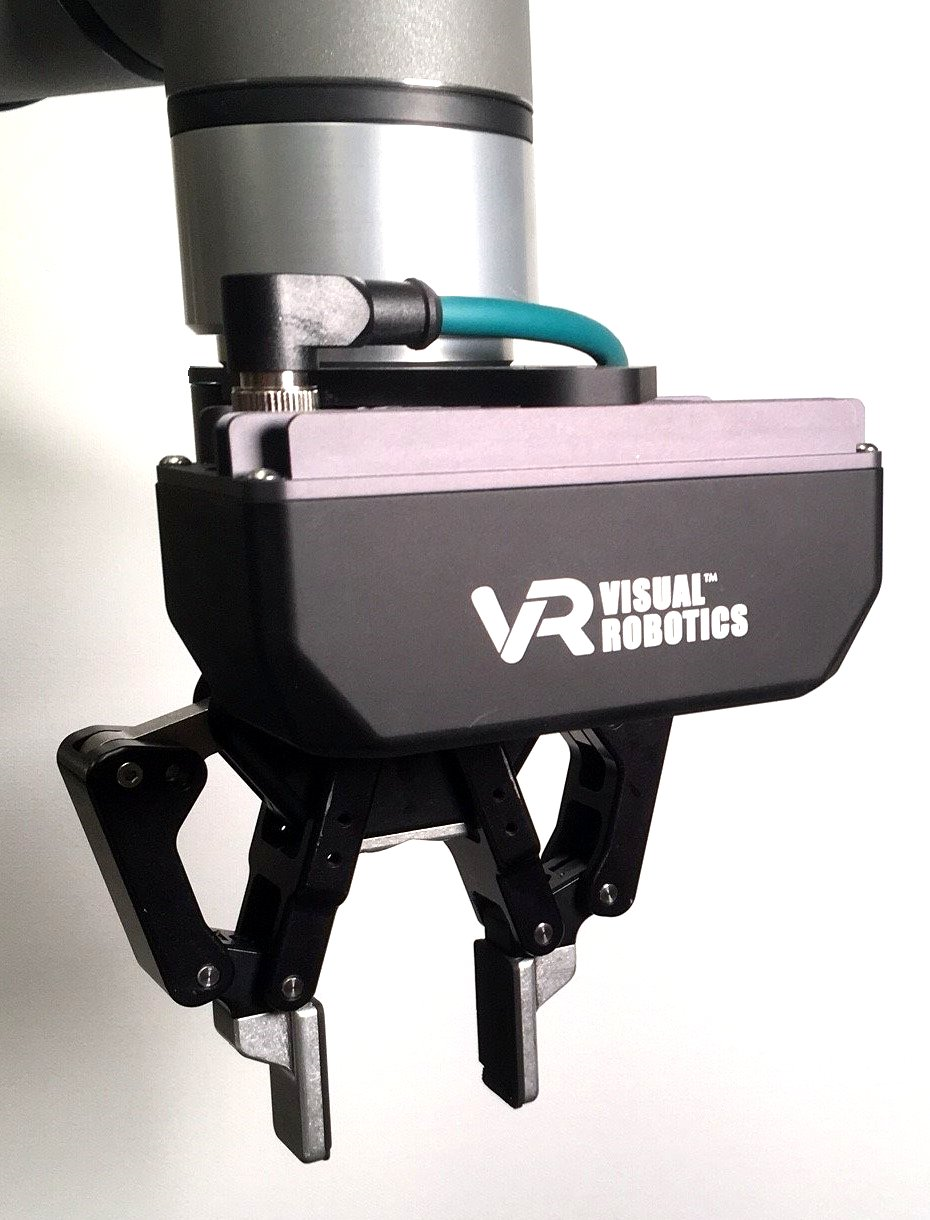
Figure 23: Settings for Robotiq 2F-85 and 2F-140 Two Finger Grippers
Settings result in a 15mm finger engagement when grabbing a 50mm object
Robotiq Configuration
The Robotiq Grippers require additional configuration on the Universal Robot Pendant. For detailed instructions, refer to the respective Robotiq E-Pick, 2F-85 and 2F-140 Gripper manuals. Here is an overview of the steps to configure the gripper (for an e-Series robot):
- Put robot in Local Mode
- Install the Robotiq UR-Cap
- Go to Installation -> General - Tool I/O and select Controlled by Robotiq Grippers (Figure 24)
- Go to Installation -> URCaps -> Vacuum and press Scan and it shows Epick (Figure 25) or choose Gripper when using the 2F-85 or 2F-140 grippers
- Put robot in Remote Mode
If the gripper cannot be actuated from the Waypoints tab, the gripper settings may need to be reset using instructions in this section.
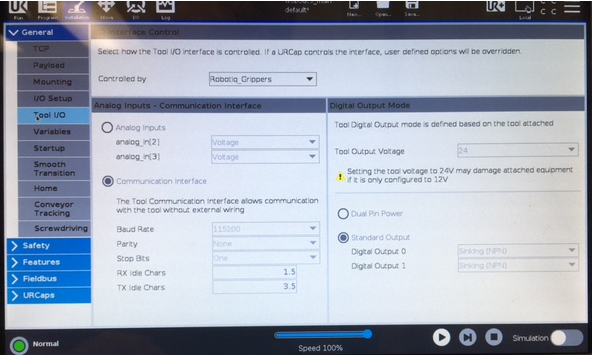
Figure 24: Allow Robotiq E-Pick Gripper to control Tool IO
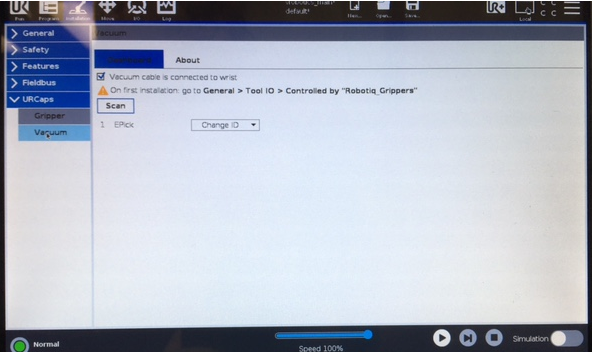
Figure 25: Scan for Robotiq E-Pick Gripper
Verifying Gripper Operation
If you're using Quickpick, on the Waypoints tab, press the Gripper button to actuate the gripper and then press it again to release it (Figure 26). If you're using the UR Cap, use the Robotiq UR+ Menu to test the grip and release function, or write a short program that opens and closes the gripper.
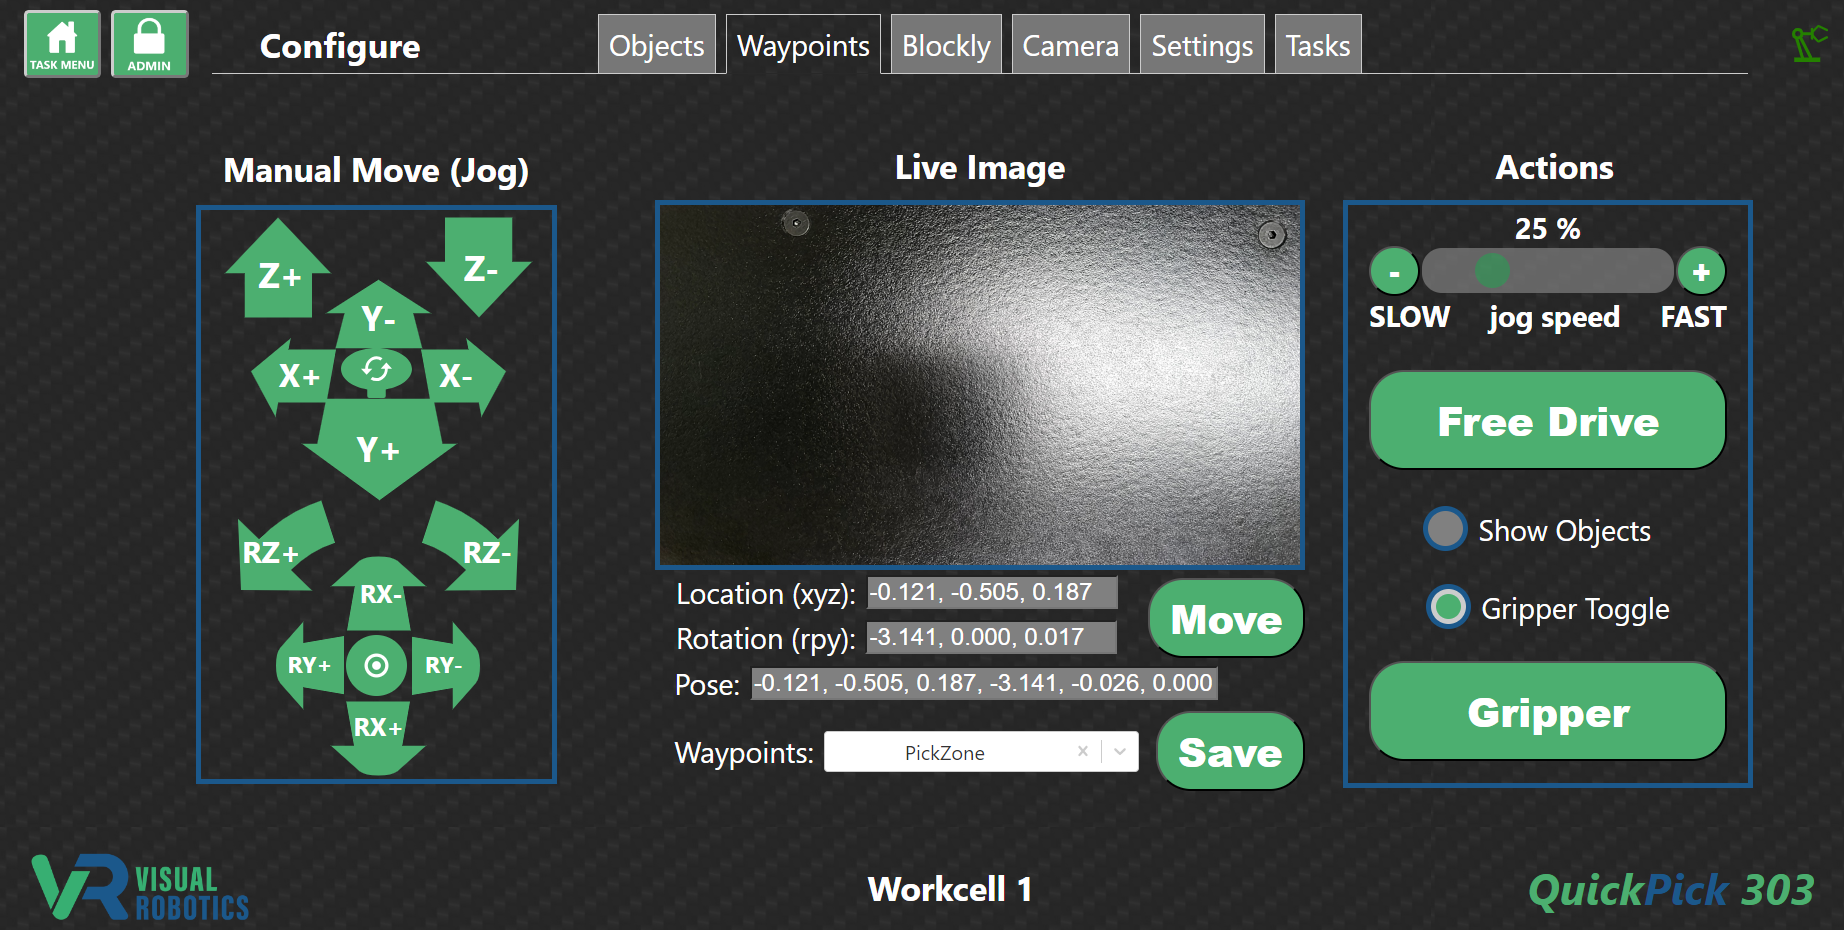
Figure 26: Verify Robotiq E-Pick Gripper Operation