Step 2 - Define Waypoints
The second step is to define Waypoints. These are defined locations that the robot can move to. The first Waypoint is called the Pick Zone. This is where the camera will be located in order to see the object. The Pick Zone for this example will be defined as the location where the robot was when the object was trained.
Press the Waypoints tab. Type Pick Zone in the Waypoints pulldown menu (Figure 6) and press Enter and the Waypoint has been saved (Figure 7).
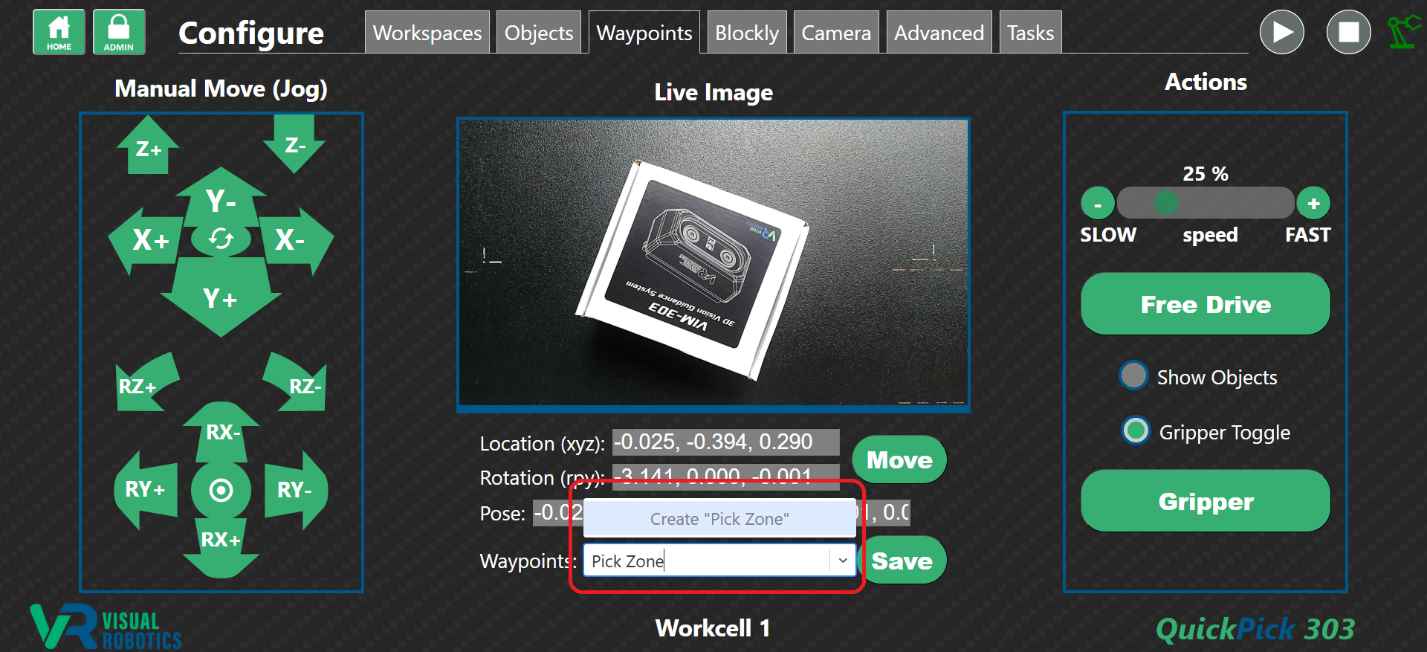
Figure 6: Creating a Pick Zone Waypoint
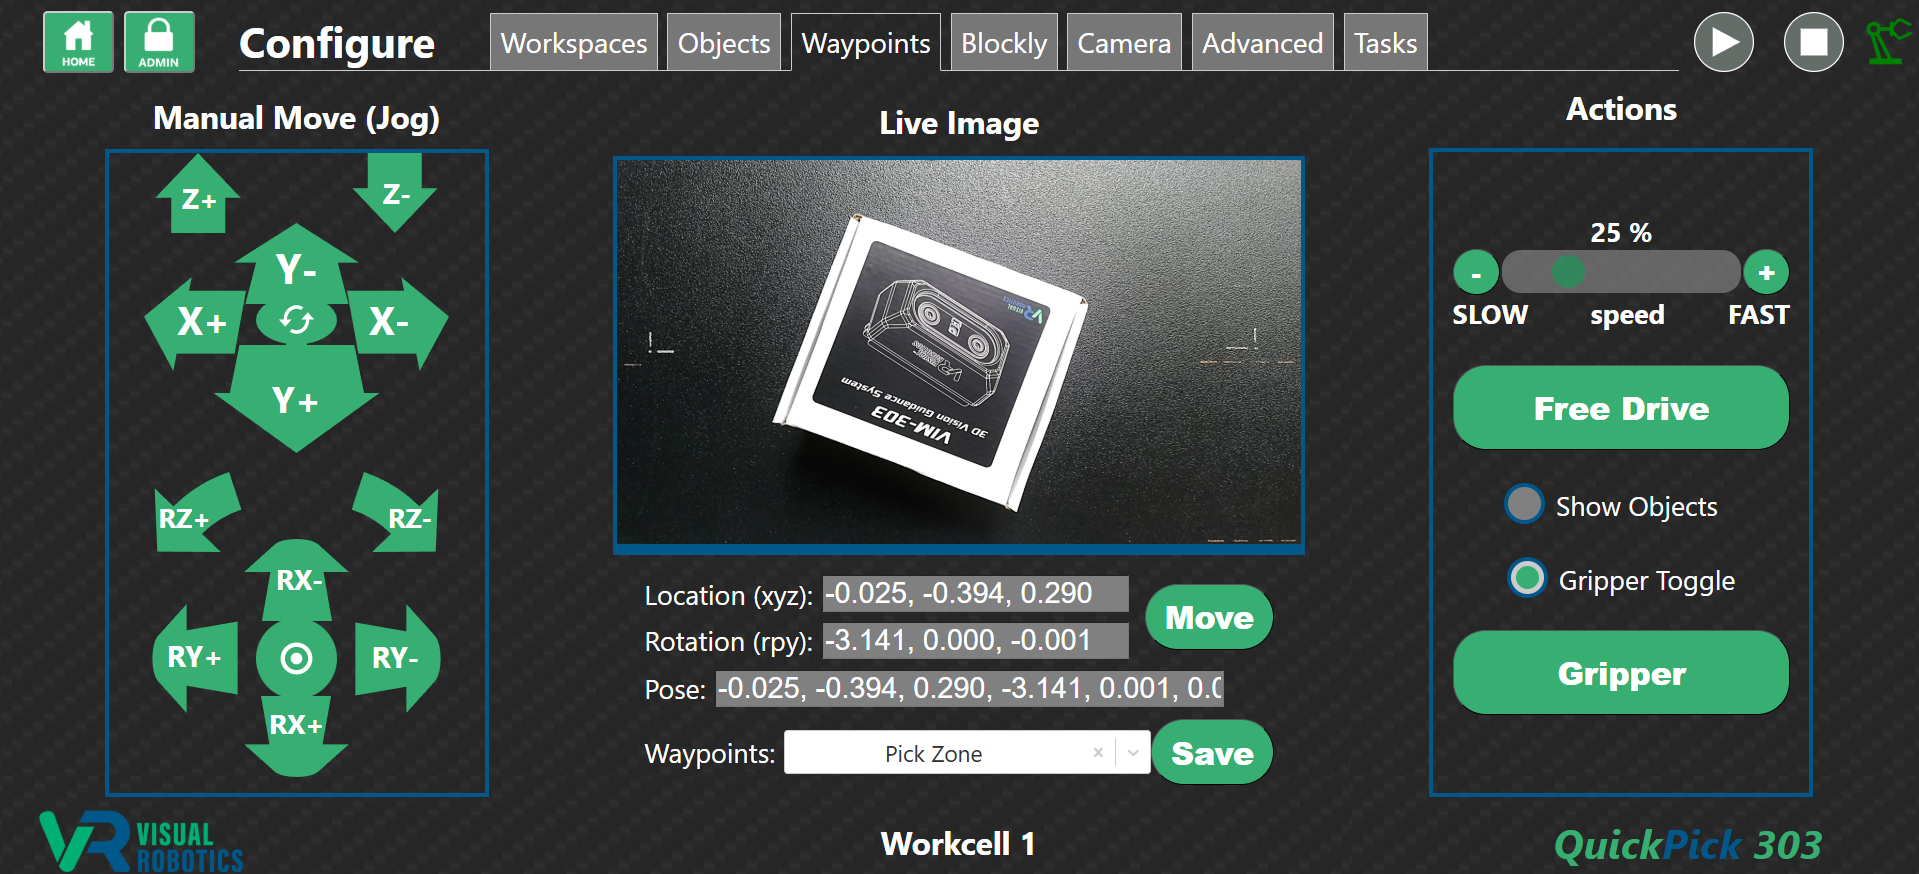
Figure 7: Pick Zone Waypoint
Create another Waypoint Place Zone by moving the box somewhere else on the table. Jog the end effector using the arrow buttons in the Jog menu (Figure 8) or by using the Free Drive button, which toggles, enabling you to move the robot arm by physically grabbing it and moving it to the location you desire. Pressing the Free Drive button again will re-engage the robot to hold at this position. Move the end effector to the top-center of the box, oriented with the box (using the RZ- and RZ+ buttons as needed) and aimed straight down (with the Bullseye button as needed) as shown in Figure 9. Type Place Zone in the Waypoints pull down menu and press Enter to save this Waypoint (Figure 10).
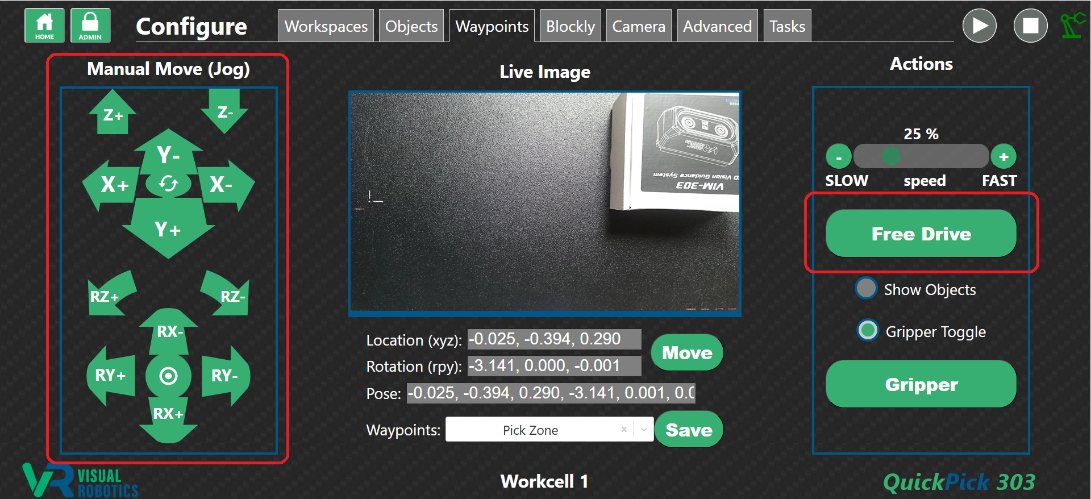
Figure 8: Jog and Free Drive buttons
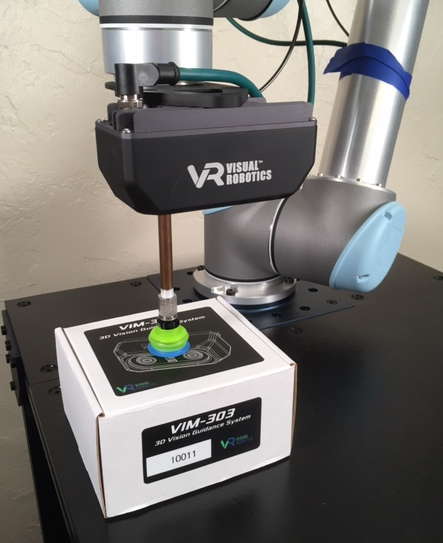
Figure 9: Moved robot end effector on top of box for “Place Zone”
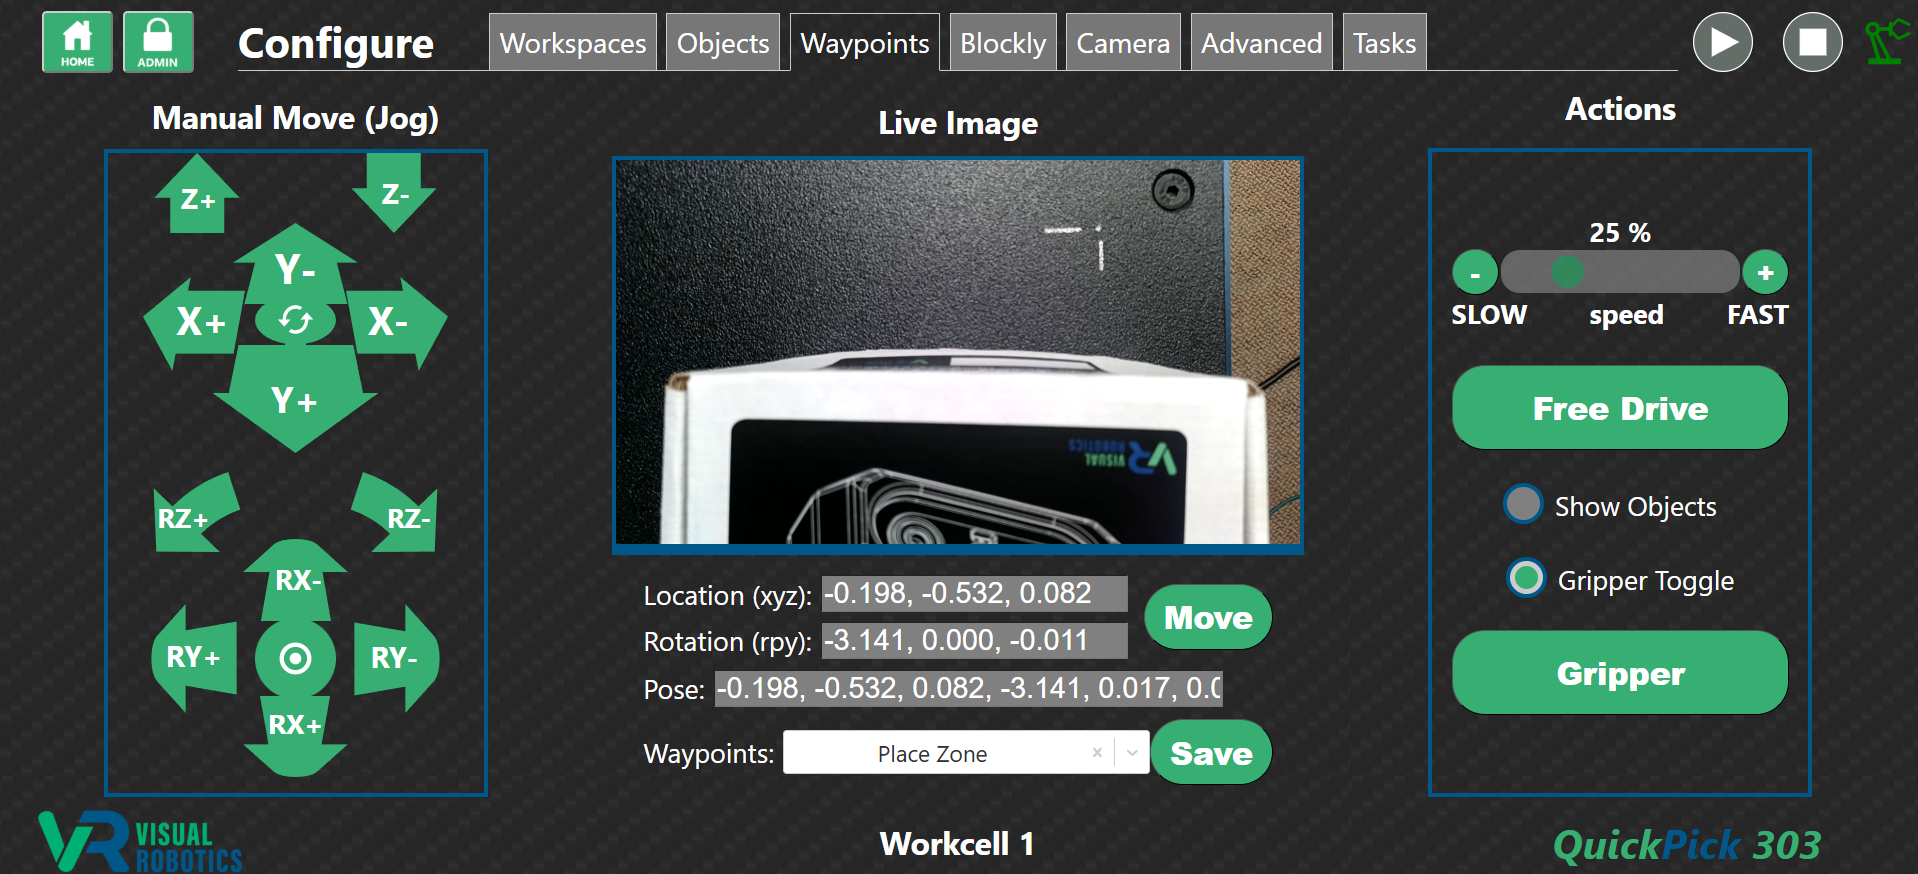
Figure 10: Defined “Place Zone”